 Slim River
Located 20 miles south of Kampar, Slim River was
selected for another British defence line position. 12th
Brigade was ordered to occupy 2 miles north of Trolak town for major
defence position where two battalion 4/19 Hyderabad and 5/2 Punjab were
put on the rear 1 miles before Trolak. Third battalion
of Argyll & Sutherland Highlanders was given task to
erect 2
roadblocks and defended Trolak town with their armoured
car.
 |
|
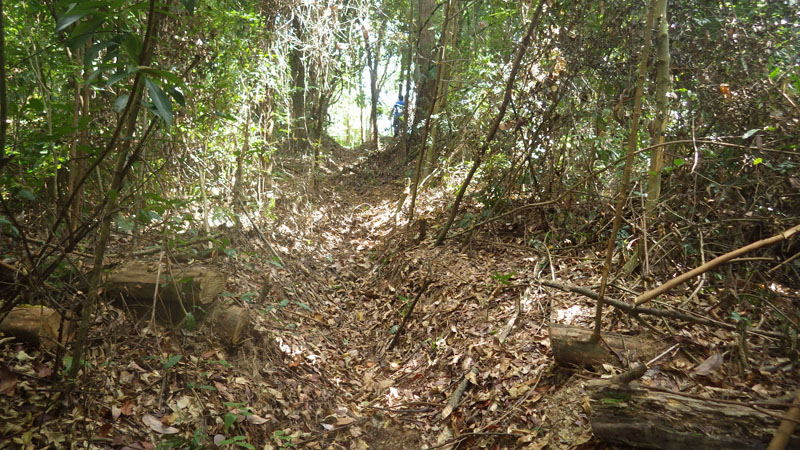
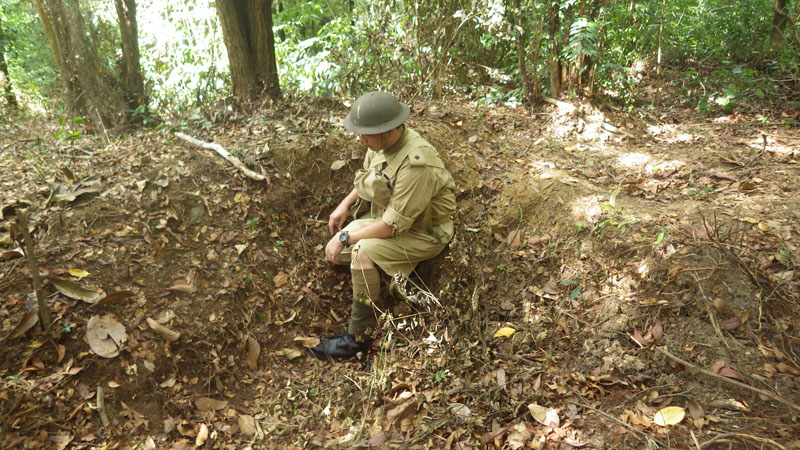
Trolak town. Major drivethru of Lt. Watanabe
tanks columns where he cut the wires using his
sword at the small bridge in the center of this
photo. Argyll defenders were swept aside but
managed to hold this area for almost 4 hours
from Japanese infantry assault before being overrun |
At south of Trolak, 5/14th Punjab was in reserve to
reinforce another defence lines 1 miles
south of Trolak.
From Kampung Slim to Slim River Bridge were held by
2/1st Gurkhas, 2/9 and 2/2nd Gurkhas and supported by
137 Field Regiment artillery at Cluny Estate under 28th
Brigade.
At 3.30am, Japanese tank under Major Shimada consisted
of 17 Medium tanks and 3 lights tanks protected with
42nd Regiment, 5th Infantry Division started their
movement south and at 4.00am, they managed to route and
overrun 4/19 Hyderabad position. At 4.30am, they overrun
5/2 Punjab position and the attachment infantry unit were
detached from the tank group and engaged 5/2 Punjab.
Japanese tank under Lt. Watanabe reached Argyll
roadblocks and moved aside their armoured easily. At
Trolak bridge, Lt. Watanabe exited from his tank and
cut the demolition wires using his sword and moving fast
to Slim River.
At 7.30am, Japanese tanks managed to breakthrough 5/14
Punjab position and overrun their position. Many of the
defenders were captured, killed or escaped south.
Lt. Watanabe tanks ambushed several column of Gurkhas
troops who marched alongside the road and inflicted
heavy casualties among them. Molotov cocktail attacks were failed to stop the tanks. At Cluny
Estate, 137 Field Regiment were caught by surprise and
did not have time to use their gun into the Japanese tanks.
In return, they were fired by Japanese machineguns and
shells from the tanks
 |
|
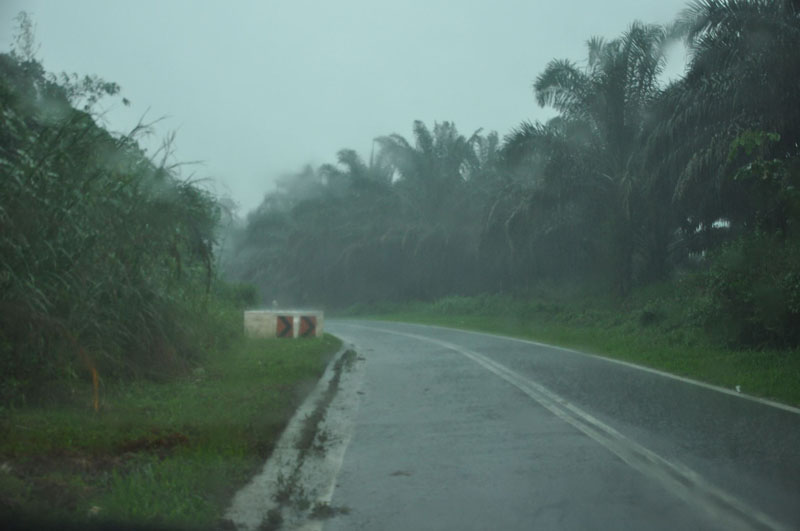
Cluny Estate where 137 Field Regiment rested 200
yards from main road were being attacked by Lt.
Watanabe tanks columns. After a fierce contacted
with supported Japanese infantry, they managed
to retreat to Tanjung Malim using railway track
west of this position. |
Japanese tanks reached Slim River bridge area at 8.30am
where the bridge was protected by Bofors
Anti-aircraft guns. Those Bofors failed to stop the
tanks and Lt. Watanabe which now wounded, managed to cut
the demolition wires using his machinegun. Watanabe now
in control of the bridge, sent his 3 tanks under Ensign Toichero Sato to explore south side of the bridge
and continued south along the main road until they ran into
British Artillery battalion of 155th Field Regiment 3
miles south of the bridge. Using their 4.5inch
howitzers, Sato tanks columns were stop
dead on the tracks and he was killed together with his
entire crews. Remaining surviving tanks retreated back to Slim
River bridge and guarded it until midday where
supporting infantry reach the bridge.
 |
|
A vital position at Slim River bridge facing
Tanjung Malim where Lt. Watanabe rushed to the
bridge and captured it intact. |
Most of the British troops under two Brigades were cut
off from the main where the only way for them to retreat
( Slim River bridge ) was captured by Japanese. Some
managed to breakthrough using railway track and arrived
safely at Tanjung Malim. At least 1000 Indian and
British troops were taken prisoners with vast quantity of
military equipments and supplies. The disaster at Trolak
and Slim River meant that the Central Malaya was lost to
Japanese leaving a wide open defenseless Kuala Lumpur to
Japanese.
|

