|
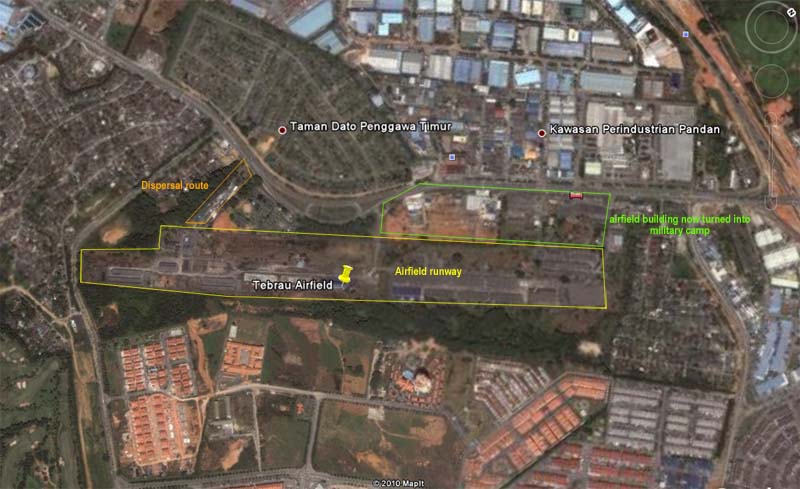
 Tebrau Airfield
No.1 Aerodrome
Construction Squadron from New Zealand responsible to
construct military airfield in Malaya at that time.
Started work on October 27, 1941, the area which
covered with rubber trees were quickly removed and work
planned to build bomber aerodrome. Construction still on
the way when war broke out on December 8 1941. Workers
watched clearly as Japanese bombers flew above Singapore Island.
During mid of December, some of the construction parties
were sent to Bekok to construct a new fighter airfield.
Some were send to Seletar and Sembawang to repair
damaged airfield. When it was fully functional, it was
used by light aircraft from Malayan Volunteers Air
Force.
During mid of
January 1942, a detachment which send to Singapore were
called back to continue their work at Tebrau. Also Bekok
parties were recalled when the airstrip was ready.
During January 15 when Japanese troops were north of
Johore, orders were received to demolish any equipment
and runway were prepared for demolitions and planted
with mines. On January 27, all personnel from Tebrau
were evacuated and slowing coming down to Singapore.
During
Japanese occupation, it was repaired and used as fighter
strip. Used also as emergency airstrip and most of the
obsolete fighter planes were stationed there to protect southern Johore and northern Singapore
from increasing threat from long range B-24 and PB4Y
bombers flying reconnaissance mission.
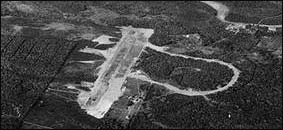
Wartime Tebrau Airfield used by Japanese
After Japanese
surrender, most of Japanese air force and Navy planes
were flown to Tebrau for evaluation. British markings
with the aconym ATAIU-SEA were painted on the aircraft.
Due to limit spaces only handful of planes were send
to UK. Rest of the planes were scrapped.
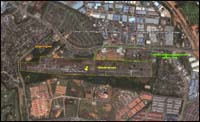
Tebrau
airfield was abondened. An "U" shape dispersal area were
missing and some of the airfield military based were
turned into permanent army camp. The runway shape still
can be recognised and more buildings like factories were
built.
Muar
45th Indian
Brigade which supported by Australian 2/19 Battalion
defended the lines at Muar. On January 15, Japanese
Imperial Guards managed to cross the river and push the
defenders out from the town where the surviving unit of
the 45th Brigade together with 2/19 Australian and 2/29
Battalion as a reinforcement were ordered to re-capture
Muar. They rallied near the Bakri crossroads with
anti-tanks and mortar emplacements
where 45th Brigade planned 3 pronged advance to
re-capture Muar. However they were ambushed by the
Japanese and scrapped the plan. Later the Japanese with
the supported of the tanks, attacked the Australian at
the crossroads. 8 Japanese Type 95 tanks under Captain
Shiegeo Gotanda without the support of the infantry,
attacked the Australian and were wiped out.
Then after a
series of flanking maneuvers, the Japanese managed to
establish series of roadblocks and cut the two battalion
which forced them to retreat back to Parit Sulong. By
that time, Lieutenant John Robertson commanding officer
of 2/29 Battalion was killed during the battle.
Brigadier Duncan who commanding the 45th Brigade also
was killed when leading an attack to recover lost
vehicles. With Duncan and Robertson dead, Colonel
Anderson took command of the 45th Brigade and other
units around Bakri. They were ordered to break trough
the roadblock to Yong Peng. A series of roadblocks were
created by the Japanese for the retreating Brigade.
When they
reached Parit Sulong 2 days later, the bridge was
defended by well fortified Japanese machine-gun
position. They failed to dislodge the Japanese who
defended the bridge. They were pinned down by the
Japanese on both sides and relief forces from Yong Peng
failed to reach Parit Sulong. When the casualties were
high, Bennett signal to Anderson that the relief
forces could not reach Parit Sulong on time which mean
could not saved the trapped Brigade. Anderson
ordered all remaining vehicles, guns and equipments were
destroyed leaving the wounded to the volunteers.
Anderson and the remnants of the brigade then dispersed
eastward through jungle and swamps to Yong Peng, leaving
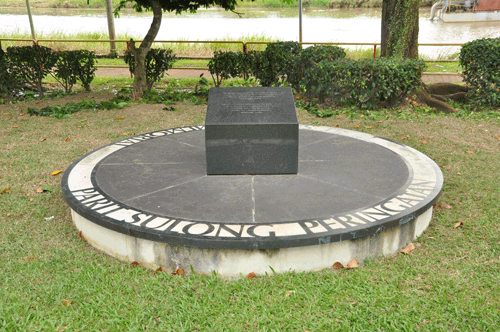
behind 150 wounded men at Parit Sulong.
Later all the wounded were
herded into a small area and machinegun down by
Japanese. Their remains were set ablaze in a shop ruins
to remove any proof of the massacre. 3 of the wounded
managed to escape and later being a witness to General
Nishimura court of inquiry. He was guilty by Australian
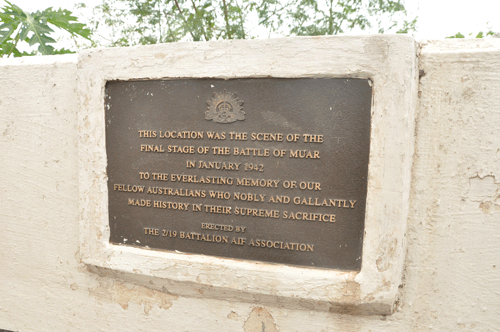
Military Court and hanged to death on Jun 11, 1951.
|
|
|
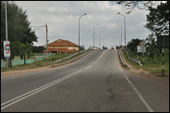
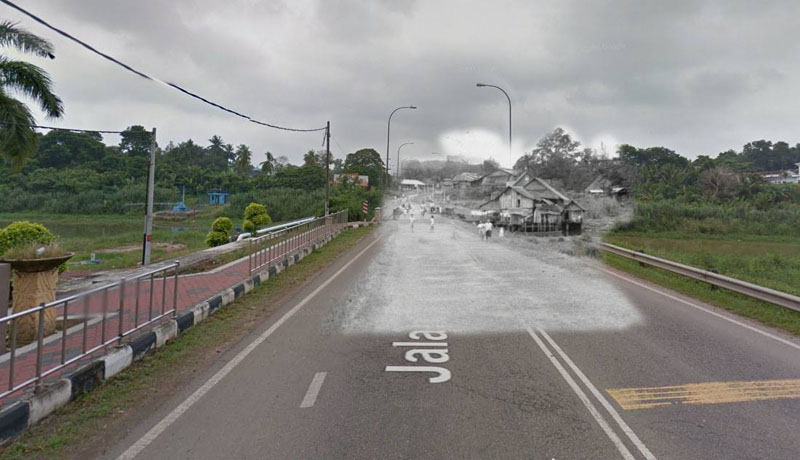
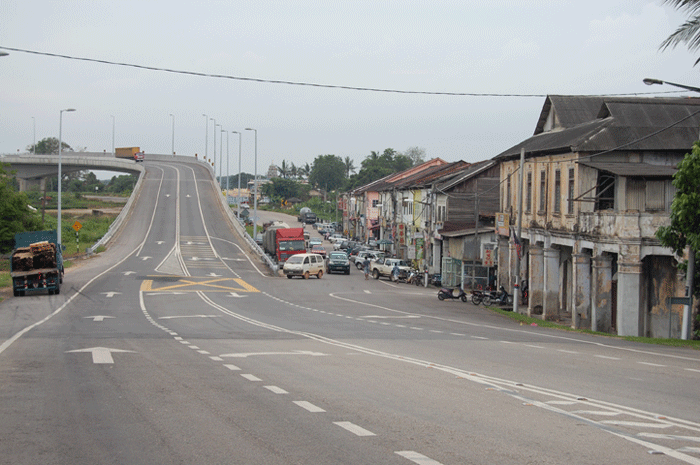
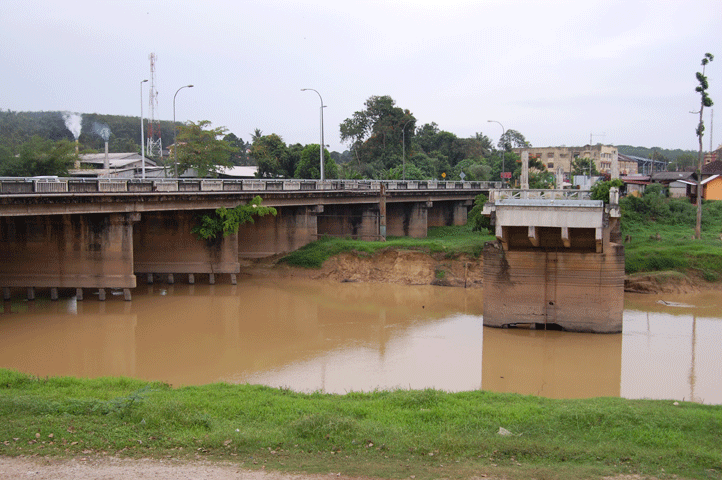
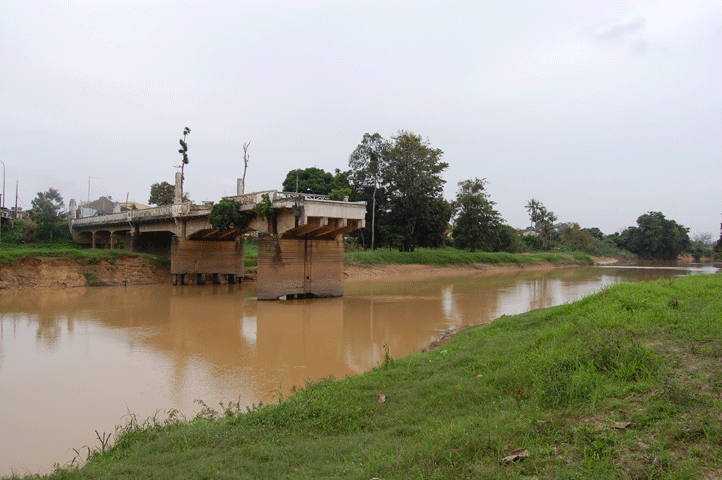
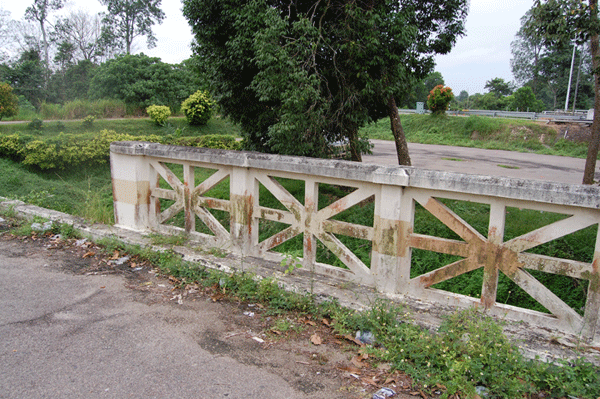
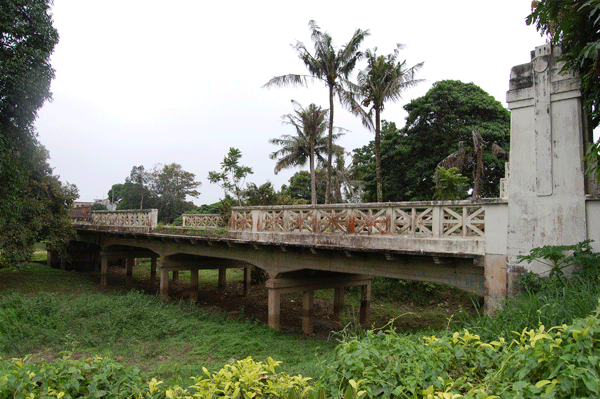
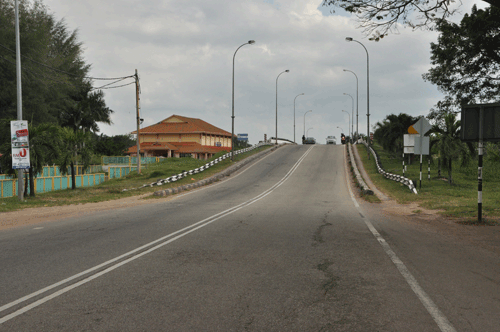
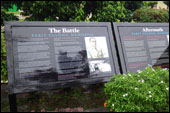
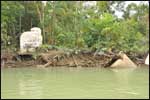
Parit Sulong Bridge |
|
 |
|
|
|
|
|
|
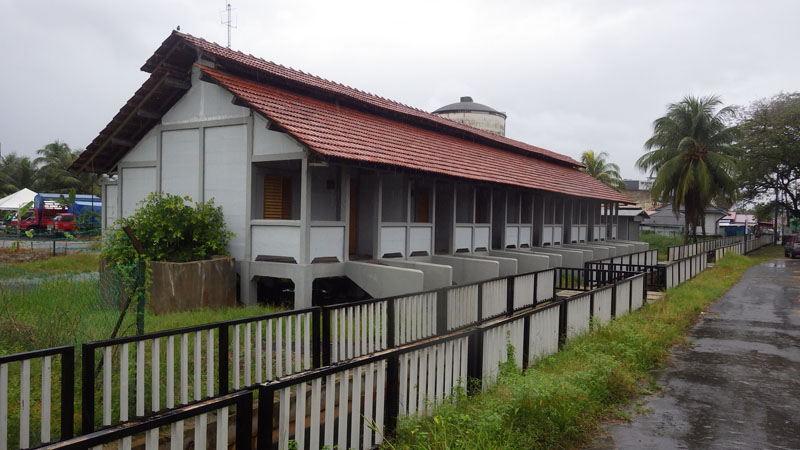
2017 Updates |
|
|
|
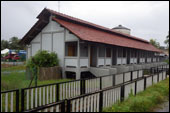
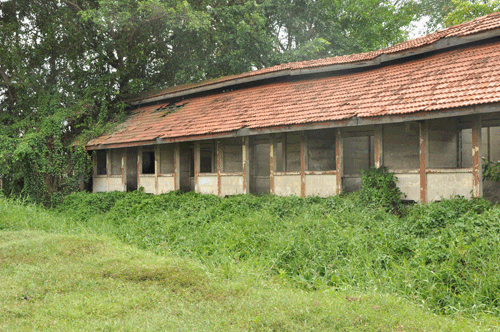
PWD Old Barracks
|
|
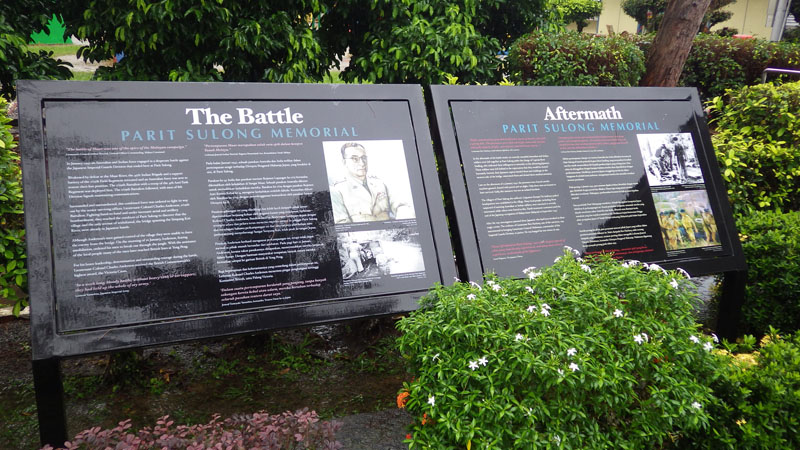
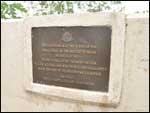
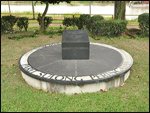
Parit Sulong Memorial
|
|
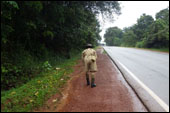
Bakri Tank Ambush Site |
|
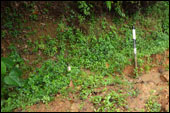
Remnants of Bakri Memorial |
|
|
|
|
|
|
|
|
|
|
|
|
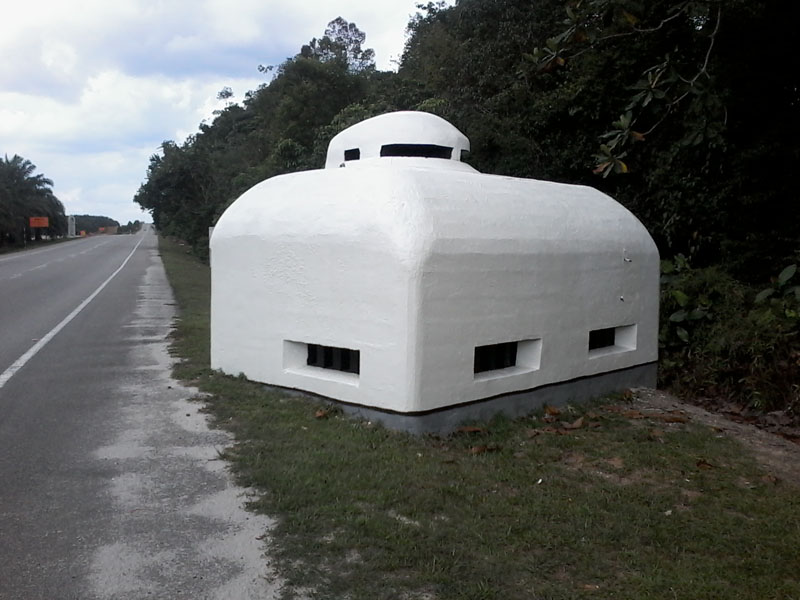
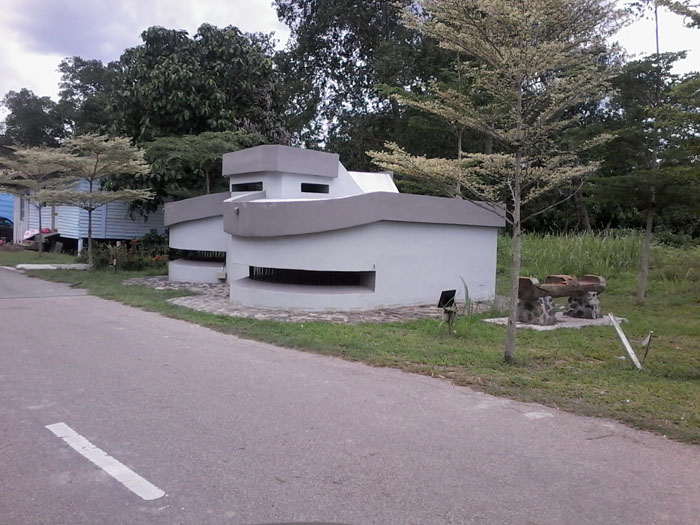
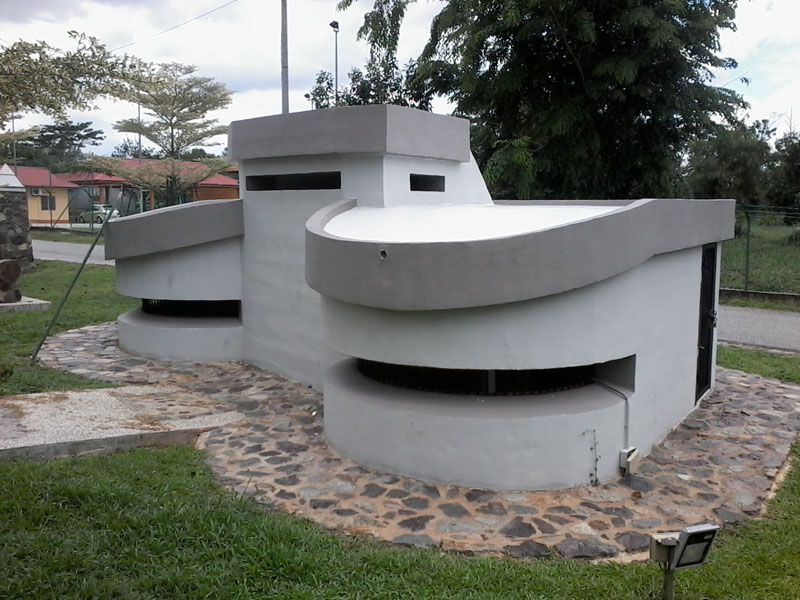
Kota Tinggi
Kota Tinggi
area were chosen by the British during late 1930s to
strengthen Singapore Fortress. A report from Major
General William Dobbie which now was a General Officer
in Command of Malaya and Singapore ordered an expansion
of defences lines of Singapore Naval base. An outer
defense lines at Kota Tinggi and Sedili were suitable to
hold off any northward attacks if enemy successful
landed at North Malaya. A large sums of budget were
approved to build a defences lines consisted of
pillboxes guarding trunk road from Mersing to Kota
Tinggi and Singapore. Also a chains of pillboxes were
built at the south banks of Kota Tinggi to protect from
enemy river crossing while another sets of pillboxes also were
built at Sedili river if enemy penetrated Kota Tinggi by
river.
Mysteriously
that the project were abandoned after Dobbie retirement
and no major works were carried out to finish up the defence lines. Pillboxes which now nearly completed were
abandoned. Most of the pillbox design were from Navy
design which similarity to Singapore and Penang
fortress.
During early
months before World War 2, the Australians which based at Mersing
were ordered to occupy the pillbox. Few of
the pillboxes were not found due to overgrown and were
forgotten. Later in the late stages of Malaya operation,
the Australians and Indians were ordered retreat south
and none of these defences lines were actually use
during the war.
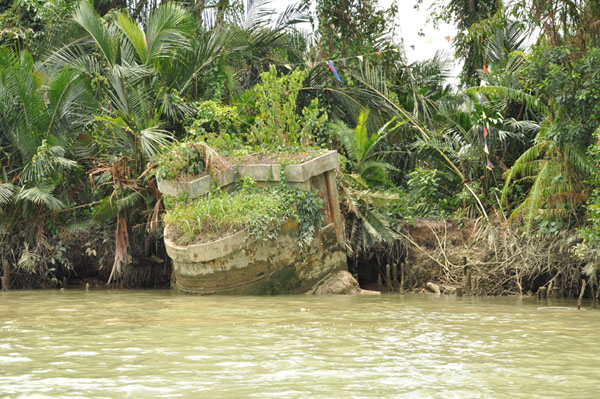
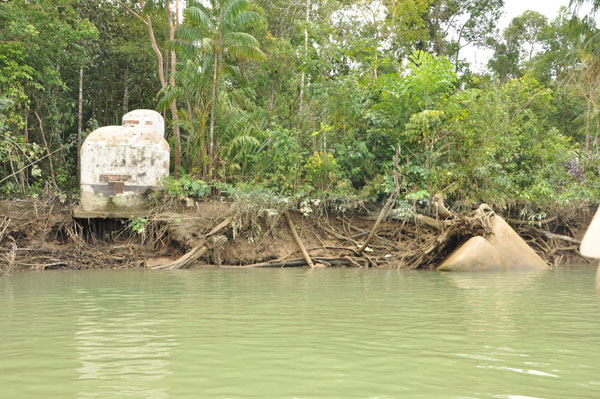
Some of these
pillboxes which located at Sedili river and Kota Tinggi
river were sunk into the river due to erosion and some
still can be found at Kota Tinggi town and roadside
towards Mersing. Few of the pillboxes around the town
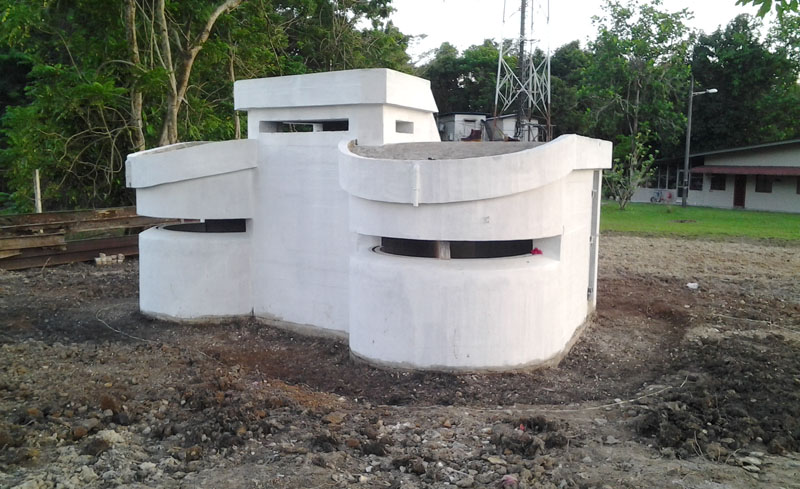
were refurbished, cleaned and given a new coat of paints
by local council authority to boast tourist activities
around the town.
|
|
|
|
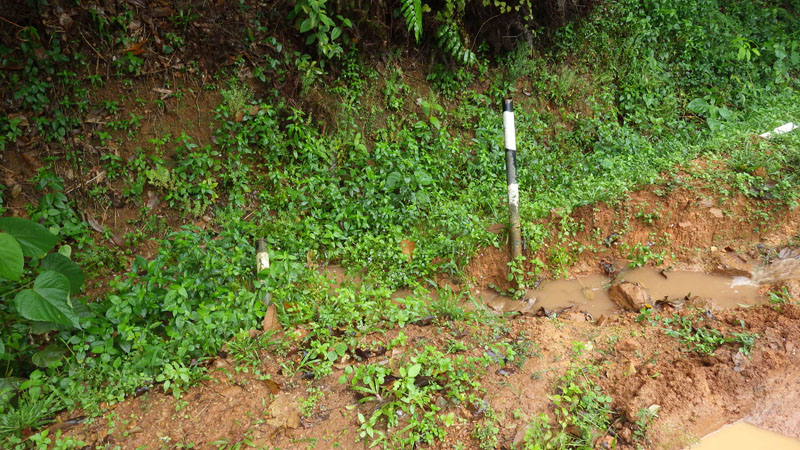
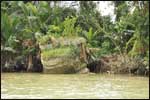
Kota Tinggi river pillboxes |
|
|
Currently Kota
Tinggi City Council made their move to restore and
refurbish the pillboxes at Kota Tinggi.
Skudai
With General
Wavell orders on January 28th, were issued by III Indian
Corps for the withdrawal to the Singapore. Specified
routes were chosen for the outline plan. Westforce, 11th
Indian Division, 27th Brigade and 9th Indian Division
would moved and embussing at 14th mile was to be
completed on 31st January. After rearguard action at
Kulai, Westforce were ordered to move back to Skudai
where they found out that the Skudai bridge was
demolished. By the situation, they need to cross and
walked down to Causeway on foot. However, it was then
discovered that the bridges on the loop road were
intact. The movement continued, and Westforce ,with the
aid of the 2/3rd Reserve Motor Transport Company
completed it's crossing of the Causeway just before
daylight
Layang-Layang
Disaster at
Layang-Layang. On January 28th, 1942, General Barstow
with his 2 senior administrative officer went forward to
his 2 Brigades. After visited 8th Brigade, he was told
that the rail bridge south of Layang-Layang has been
demolished which cut off any communication between 8th
Brigade and 22nd Brigade dug in north of Layang-Layang.
The 3 officers continue their journey with trolley
intending to visit 22nd Brigade. General Barstow then
found 2/10 Baluch resting 1 mile south of the bridge and
ordered them to occupy a ridge facing the bridge. He
found out that the rail bridge still passable on foot.
They crossed the bridge and walked towards Layang-Layang
station. At 150 yards from the bridge, they were
challenged and fired upon by Japanese soldiers who
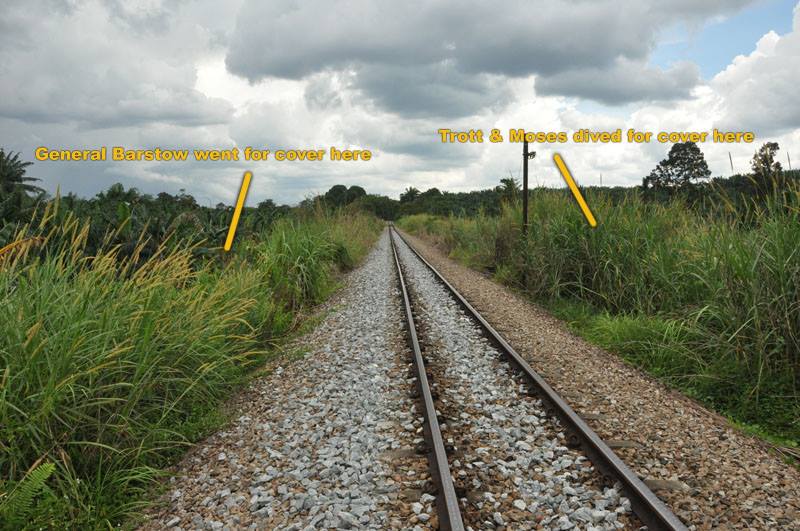
already infiltrated Layang-Layang town. By spontaneous
for cover, the General went to the right of the
embankment and 2 of the officers Colonel Trott and Major
Moses went to left of the embankment. 2 officers tried
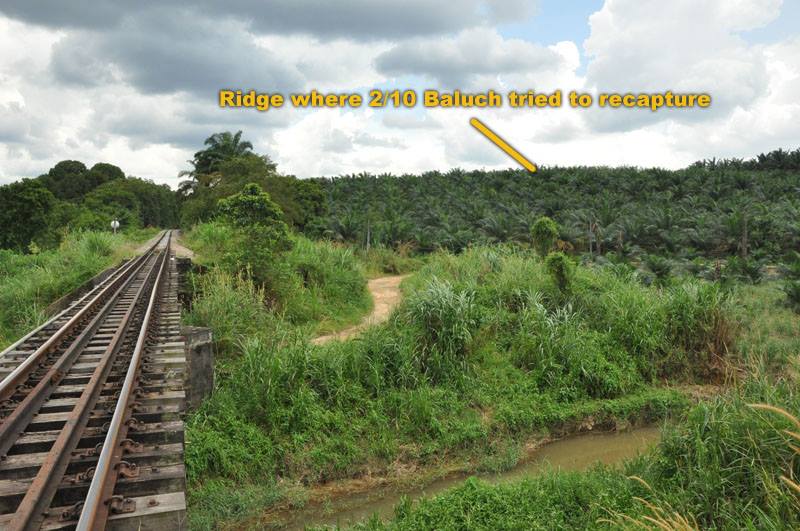
to reach the General but they came under fire. They
waded the river and reach the ridge where the Baluch
should been there, only to find out it was occupied by
Japanese. They finally reached the railway and where
Moses remained with the Baluch thinking that General
Barstow could be rescued if they managed to recapture
the ridge. However they failed and were driven back
under heavy fire. General Barstow's body was found by
the Japanese at the foot of the embankment. He was
listed missing and later commemorated at Kranji War
Memorial Column 143.
 |
 |
| |
|
|